Image Layer
How To Use A Image Layer Widget Of UBE Addons
Image Layers widget allows you to place multiple interactive images, animation of each other. The layers can then be animated as the user moving the mouse over them. Let’s check out the step by step guidelines below to configure and style your Image Marker:
How to Activate Image Layers
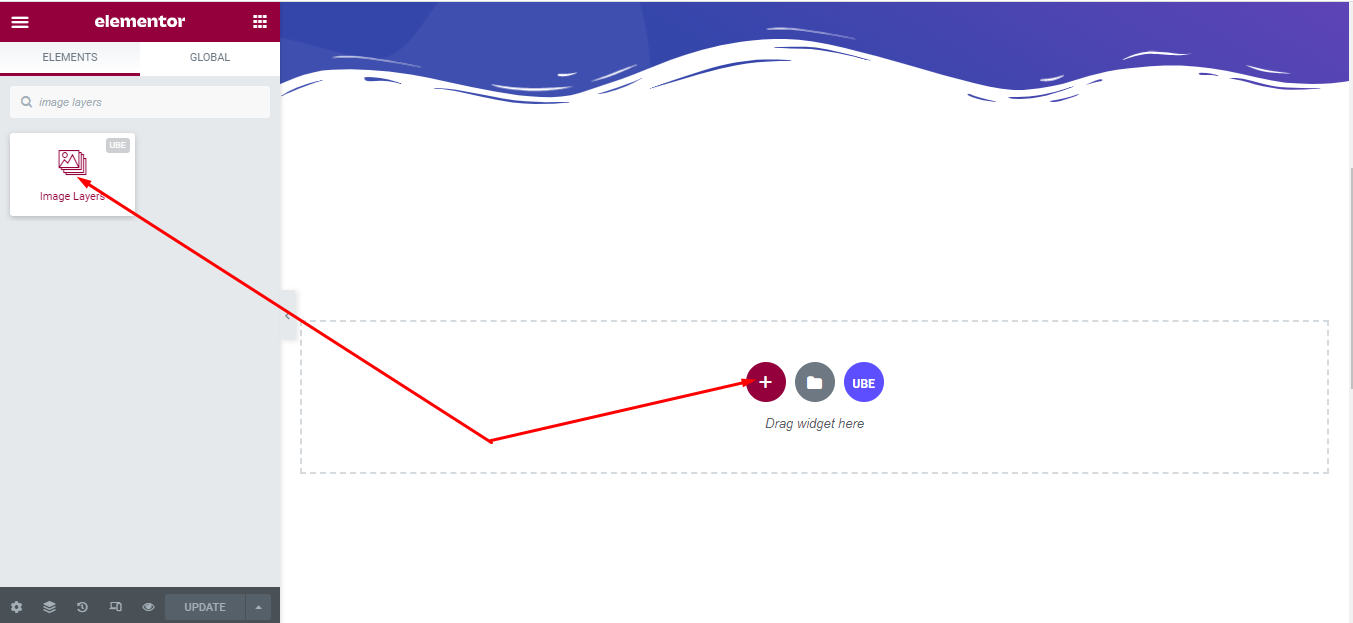
To use this UBE Addons element, find the ‘Image Layers‘ element from the Search option under the ‘ELEMENTS‘ tab. Simply just Drag & Drop the ‘Image Layers‘ into the ‘Drag widget here‘ or the ‘+’ section.
How to Configure Content Settings
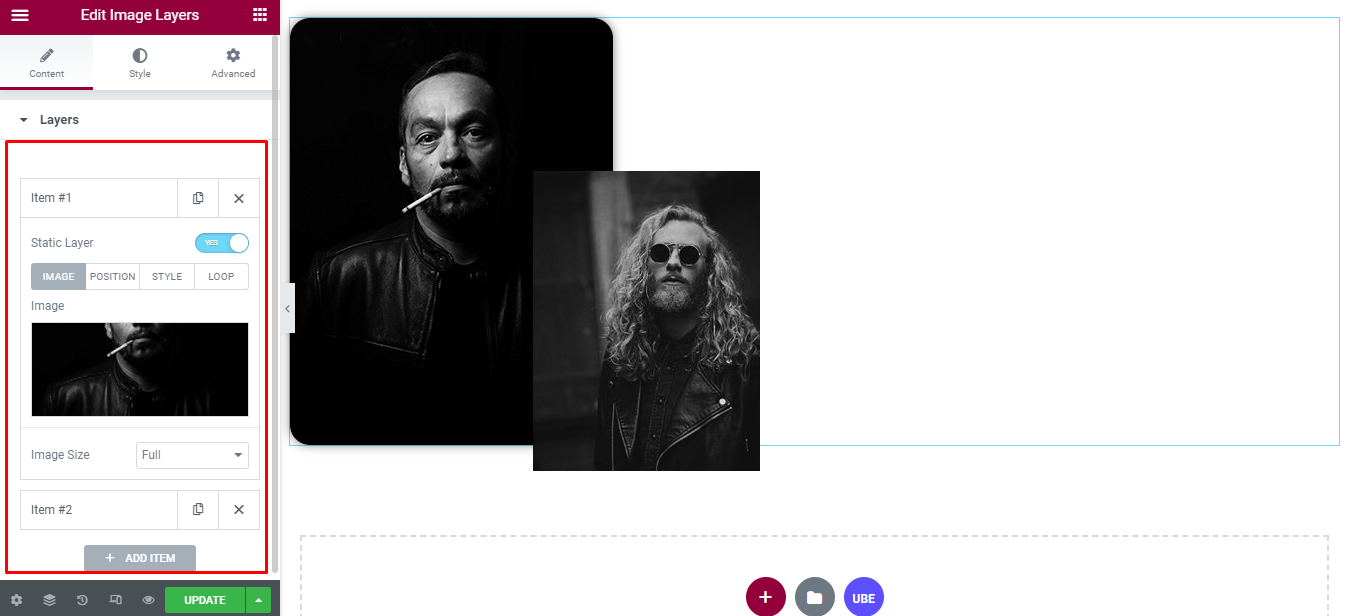
Layers
Add layer item by click button ‘+ ADD ITEM’
Each item includes:
– Static Layer: is this item set as static layer or not?
On the Image tab
| Image | Select image from gallery |
|---|---|
| Image Size | Select the image size |
On the Position tab:
| Width | Set the width for the image |
|---|---|
| Horizontal Align | Choose horizontal alignment including left or right |
| Left Offset | Enter the position of the image relative to the left if Horizontal Align is selected to be left aligned |
| Right Offset | Enter the position of the image relative to the right if Horizontal Align is selected as right alignment |
| Vertical Align | Choose the alignment vertically including top or bottom |
| Top Offset | Enter the position of the image relative to the top if Vertical Align is selected as the upper alignment |
| Bottom Offset | Enter the position of the image relative to the bottom if Vertical Align is selected as the bottom align |
On the Style tab: allows adding ‘Border Radius’, ‘Box Shadow’, ‘Animation Depth’ (this is used in the case of parallax animation which will be discussed later)
On the Loop tab:
| Loop | Choose the type of loop including: rotate, move horizontally, move vertically |
|---|---|
| Transition Duration | Enter the speed of the animation, in milliseconds. The larger the number, the slower the animation. |
How to Style Image Layers
Switch to the ‘Style’ tab to style all the elements of Image Layer.
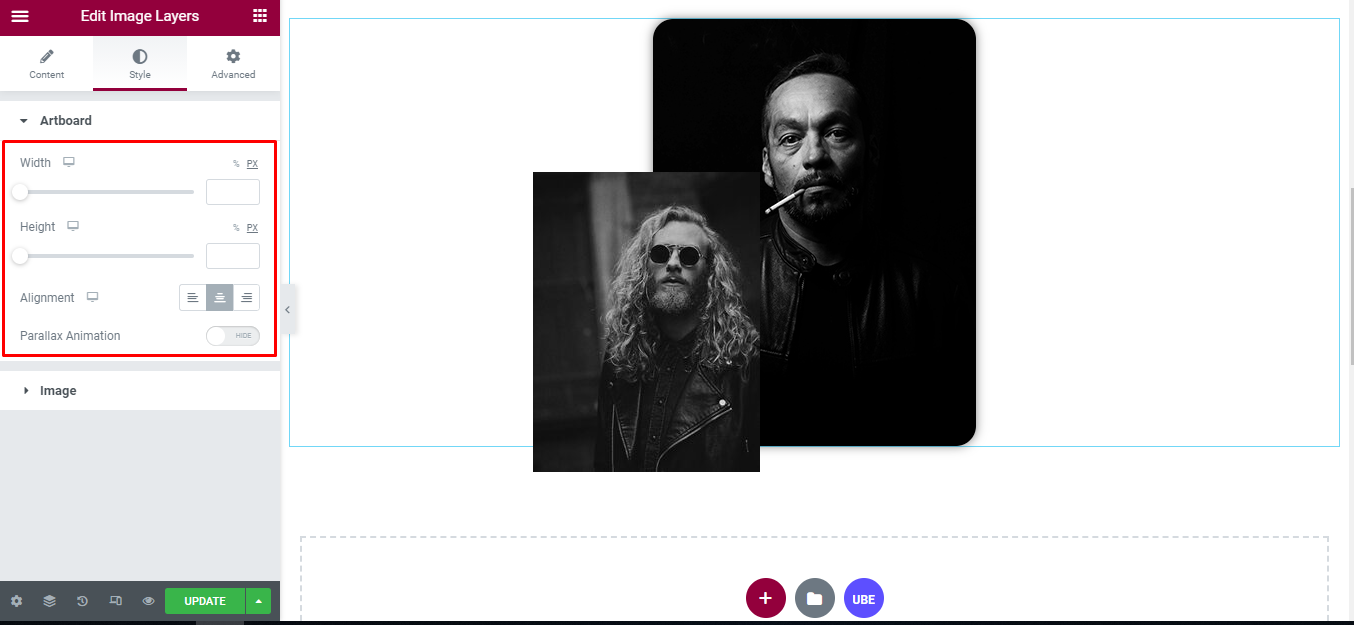
Artboard
‘Artboard’ section lets you add ‘Width’, ‘Height’ , ‘Alignment’ , ‘Parallax Animation’ ( enable parallax animation or not) to the wrapper of image.
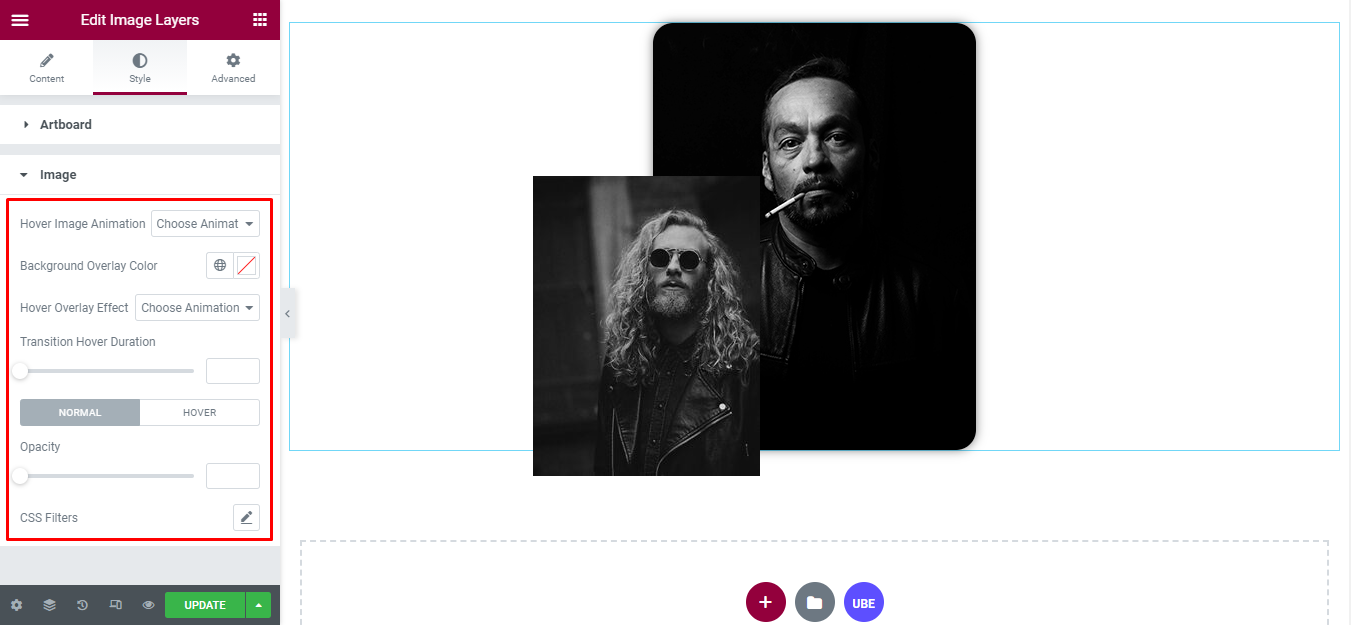
Image
‘Image’ section lets you add ‘Hover Image Animation’, ‘Background Overlay Color’ , ‘Hover Overlay Effect’ , ‘Transition Hover Duration’, ‘Opacity’, ‘CSS Filters’(in normal and hover mode) to the image.
Final Outcome
By following these mentioned steps and a bit more modifying & styling, you can easily design your Image Layers as per your preference.
By using UBE Image Layers, this is how you can easily put the spotlight on your significant contents & make them appealing to your visitors.
Getting stuck? Feel to Contact Our Support for further assistance.